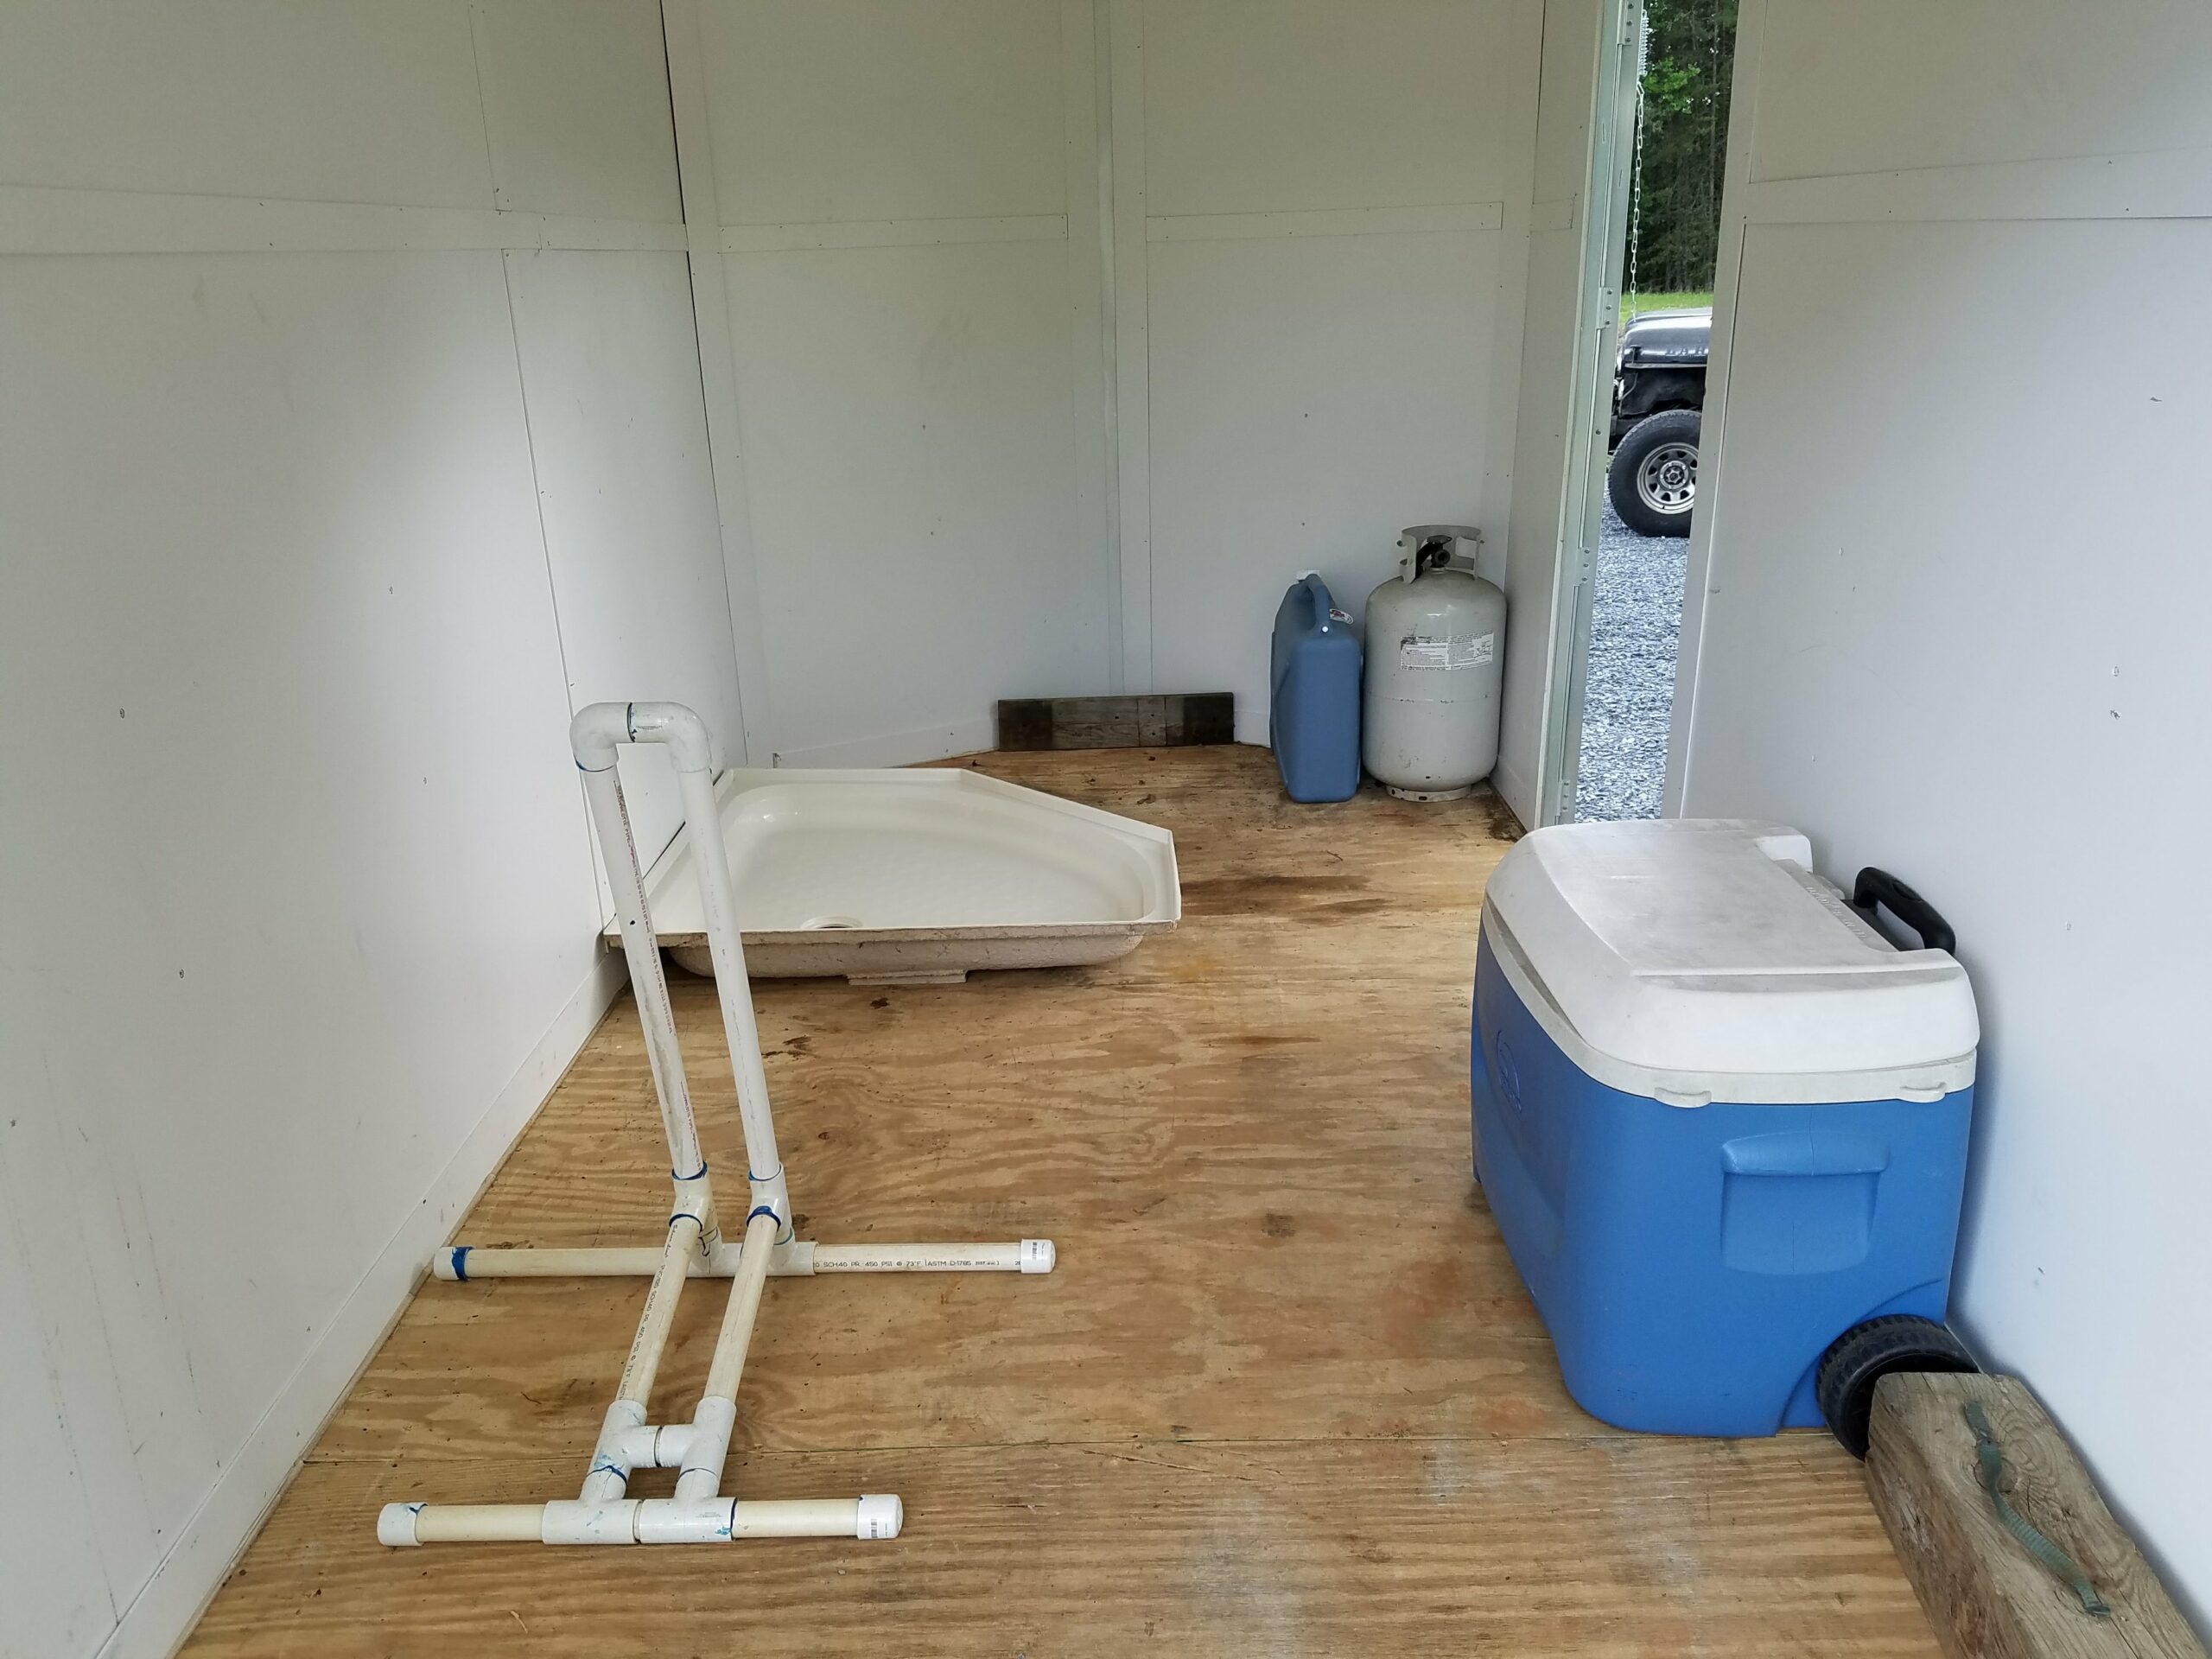
As I mentioned in My DIY Camper Build, Part One, be careful of building in anything permanent. I have changed my design many times. As you can see in the picture to the left (the white PCV frame is a Mountain Bike stand), there is no place to have a bed of any type.
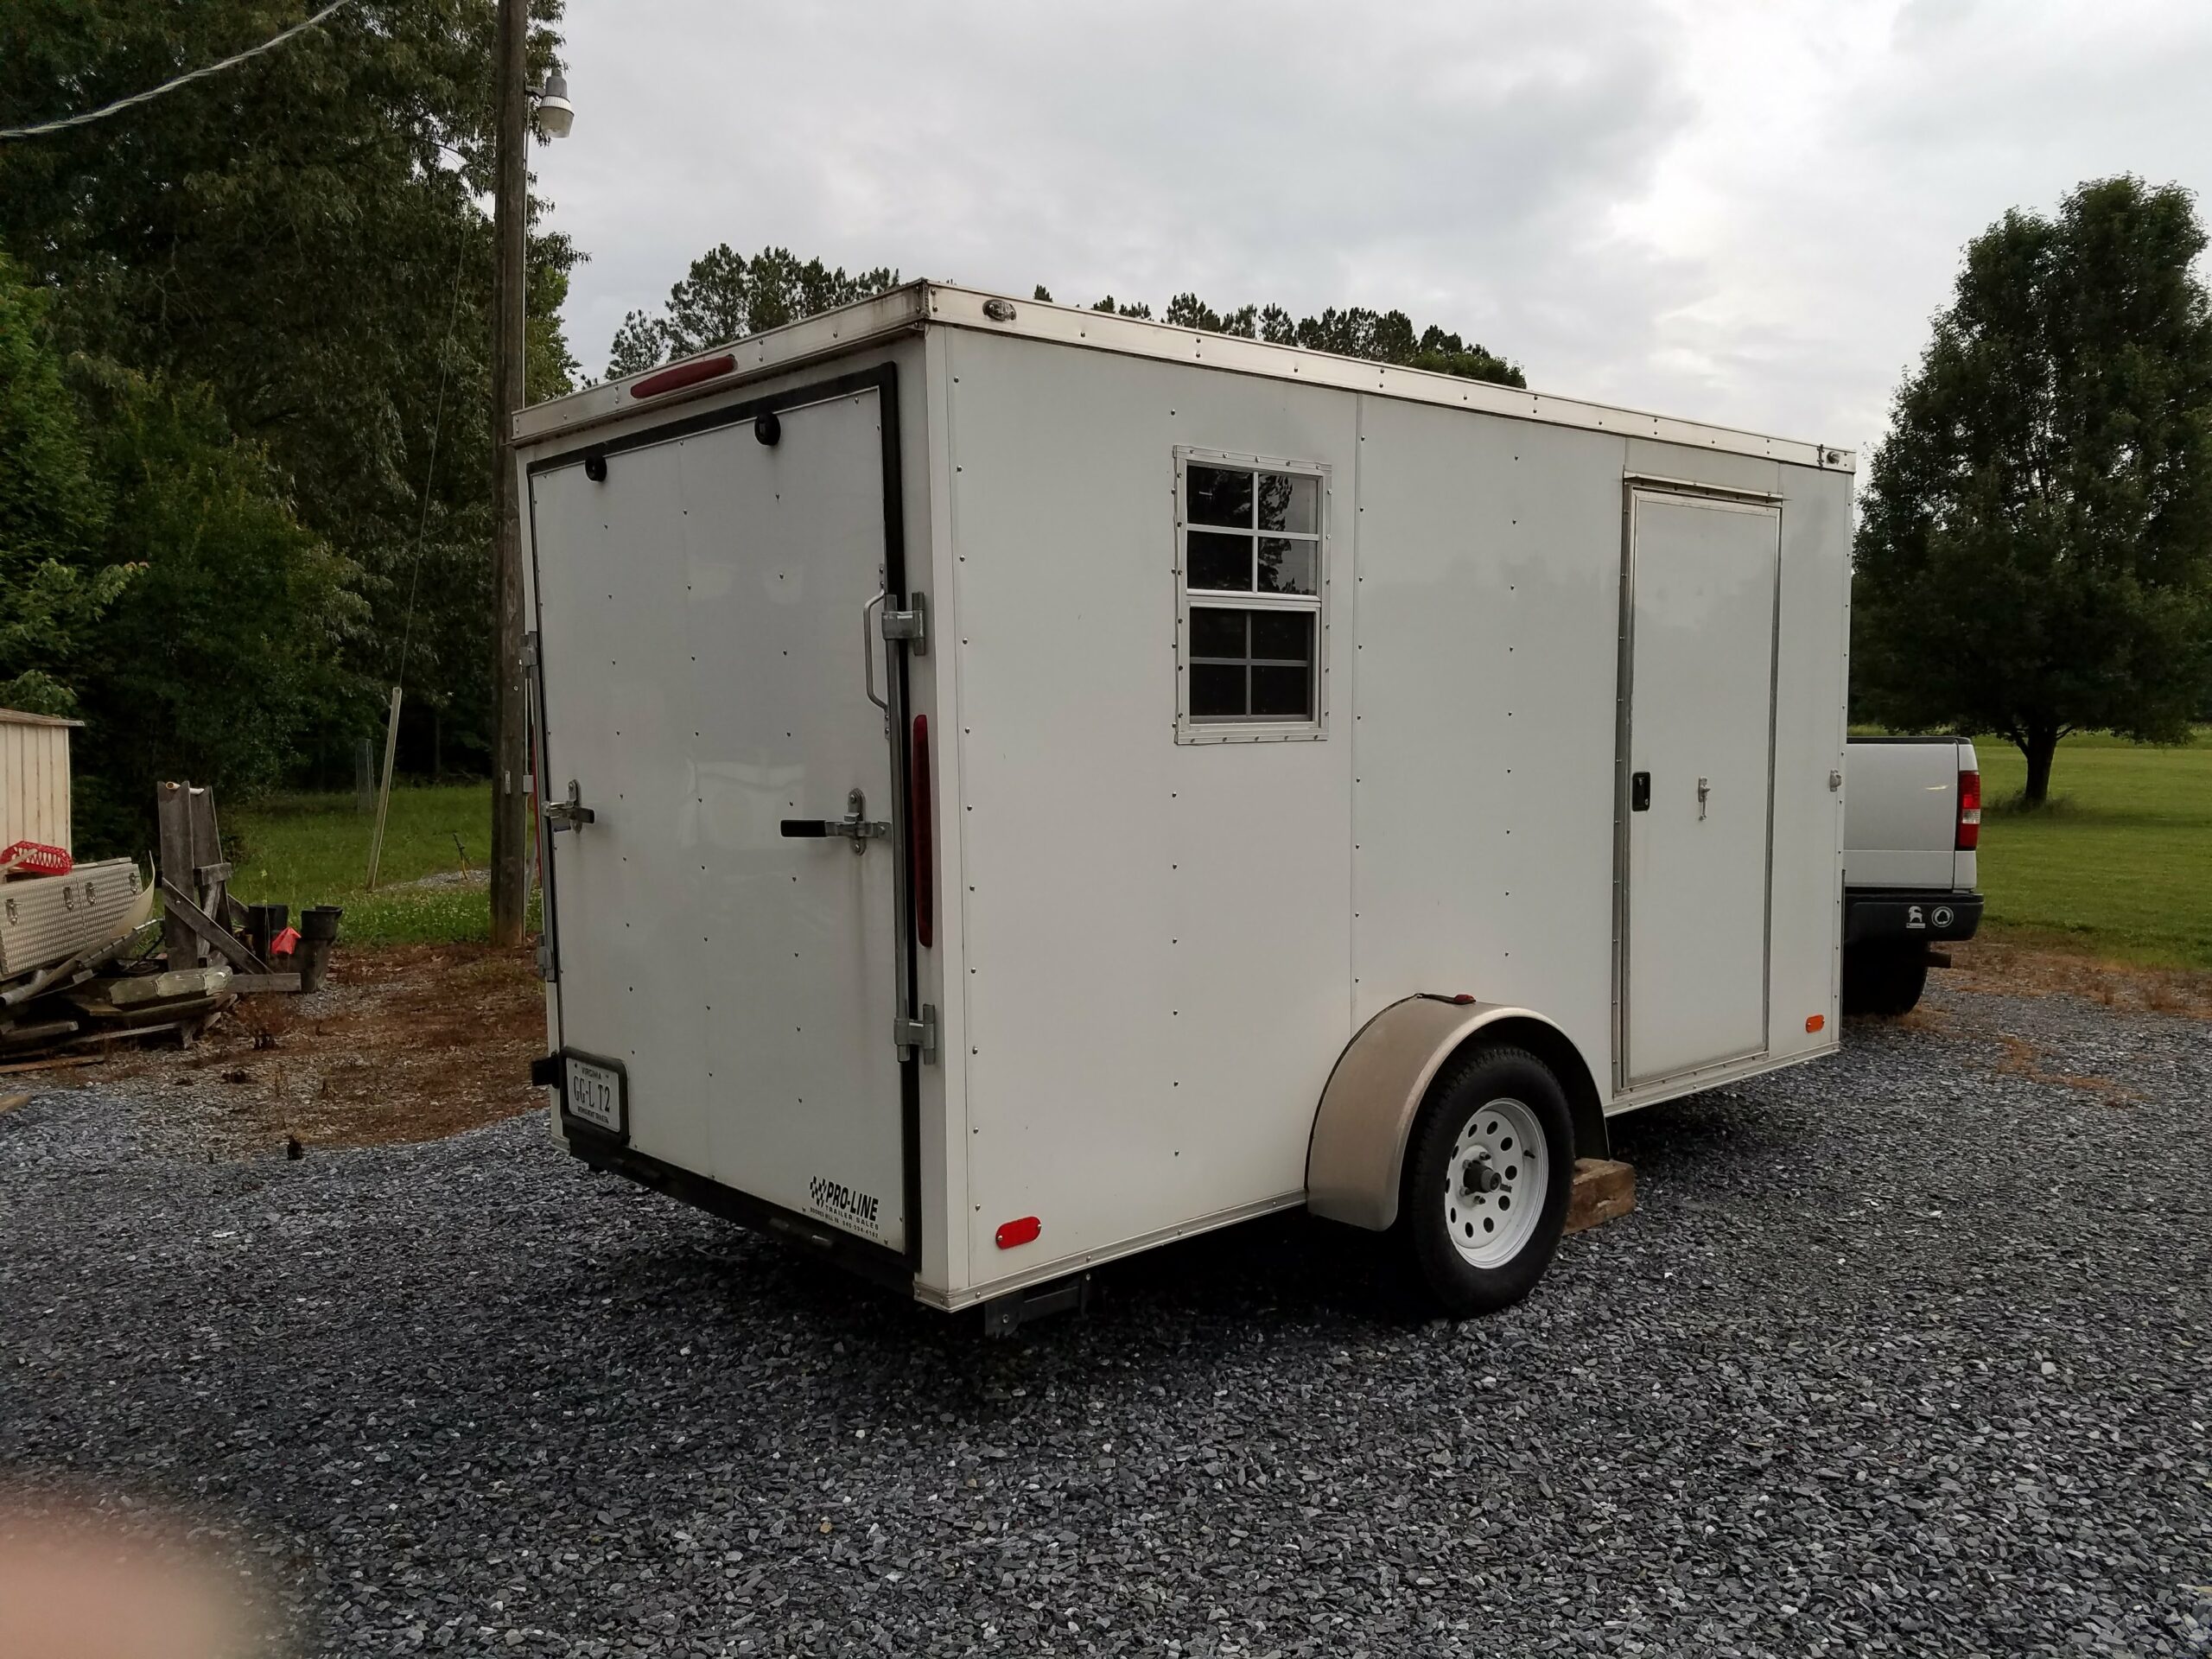
As you may have noticed in part one, the insulation and windows were installed.
The only item from the picture to the left that I use inside the camper now is the five-gallon water jug. I do use a cooler, but it’s smaller than and better quality than the one pictured.
Measure Twice, Cut Once!
It’s a good idea to install the windows at the same time you are insulating. You will need to take down the interior walls for the insulation and this will give you access to the frame of the trailer.
I outlined the window with a marker, then drilled holes in the corners just big enough for the jigsaw blade to fit.
I chose the cheapest option for the windows. I went with 18″ x 27″ shed windows (often used for playhouse builds) because they come with tempered glass, and of course, are a cheap option. I bought two of these: Shed Windows, Amazon.
There are different ways to mount the windows. If you have access to a welder, you can weld in frame sections between the “studs” for the window to mount.
I chose a quicker and easier option. I just built a wood frame and mounted it with “L” brackets (sorry, no pics).
Keep It Simple! (And Cheap)
A recurring theme here is to keep everything as simple as possible. I usually over complicate everything! So this does take effort on my part. I have to identify what the result is that I’m after, then figure out the simplest steps to get there.
But why not just buy a small camper?
I have watched many videos of DIY camper builds, and people who actually live full time “off-grid” and I am convinced that a custom-built camper is the best scenario for me. If you’re considering a small camper, I encourage you to check out these videos:


Leave a Reply